Natural Stone, Marble, Granite Selection
-
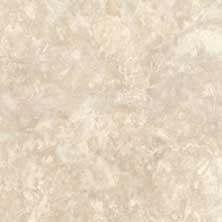
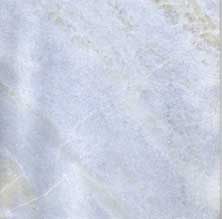
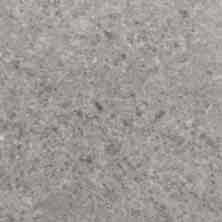
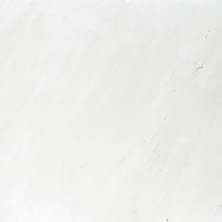 Sivec White
-
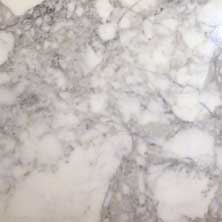 Carrera White
-
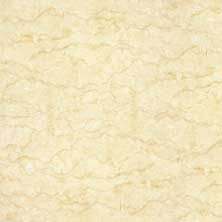
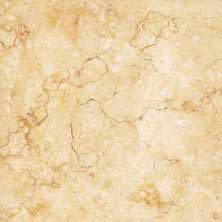
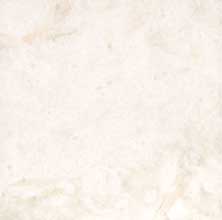 French Vanilla
-
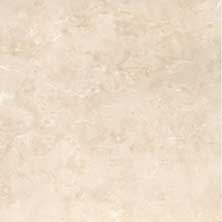 Crema Marfil
-
 Bottichino Florito
-
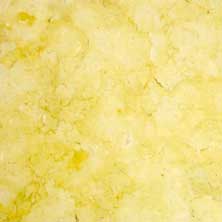
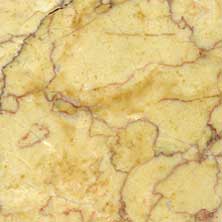
 Egyptian Yellow
-
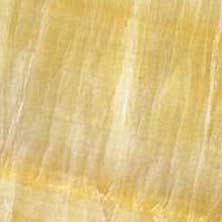 Honey Onyx
-
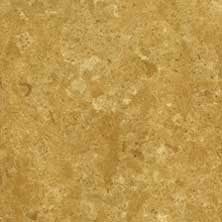
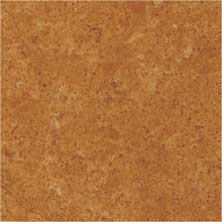
 Jerusalem Gold
-
 Giallo Atlantide
-
 Indus Gold
-
 Crema Valencia
-
 Imperial Gold
-
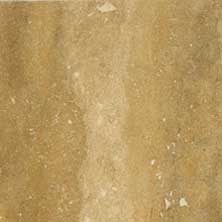
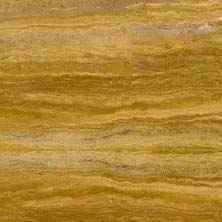 Wood Grain Yellow Travertine
-
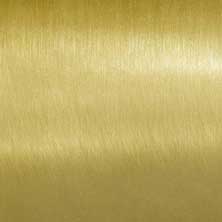 Brass
Brass
-
 Celeste Blue
-
 Inca Gold
-
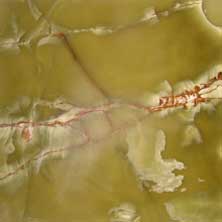 Green Onyx
-
 Cinderella Grey
-
 Rojo Alicante
-
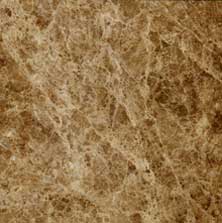 Emperador Light
-
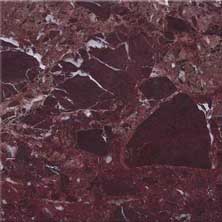
 Red Onyx
-
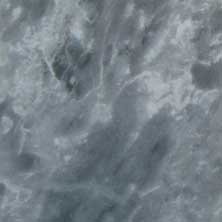 Silver Grey
-
 Noche Travertine
-
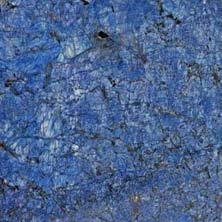 Royal Blue
-
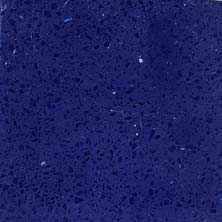 Blue Dark Engineered
-
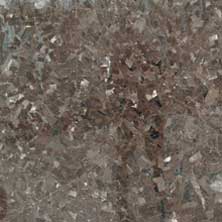 Antique Brown
-
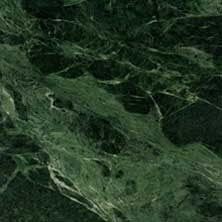 Empress Green
-
 Rosso Levanto
-
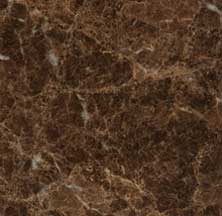 Emperador Dark
-
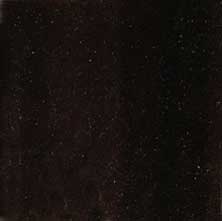 Black Galaxy
-
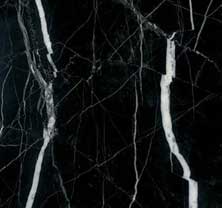 Black Maquina
-
 Absolute Black
Please note that on-screen colors are not necessarily precise representations of actual product colors due to variance in monitor calibrations. Natural stone is a product of nature and varies in color, veining, and shading. Consequently, the natural stone product images you see on this website will vary from the actual product we create.
Physical characteristics of marble and granite
There are 4 classifications of marbles.
Class A, being the most resistant to breakage and having the least amount of natural inclusions, veins, and inconsistencies.
Class B, Class C, and finally Class D, which is the most likely to break because of the above reasons. Normally, the class A materials are more consistent looking while the Class D marbles are more ornate. Class A marbles
would usually be harder and more dense, while Class D marbles would be softer and more porous.
The classification above has nothing to do with what could be defined as a grading of the stone. As far as grading goes, instead, that is better to worst quality within the same stone coming from the same quarry, a few quarries volunteer some sort of grading. For instance, the Spanish Crema Marfil is graded - by the quarry - as "Residential" and "Commercial" (residential being the better grade). Crema Marfil has as many different classifications as companies you can find. The most common is:
- Select/First Q.: Homogeneous, light color, few veins
- Standard: Homogeneous, normal veins
- Classico: Not homogeneous (spots, shadows..), more veined.
How to fix chipped and scratched marble
For edmperador dark and emperador light damages, if there is a piece come off, put the original piece back, crash a stone of same color (if you don't have emperador dark or light, get some broken tiles or chair rails for this purpose) . Look around the crack and see what is the natural size of the color pieces around the crack. Choose similar sizes to fill into the crack (make sure to use mixed sizes and use some very fine pieces or even powder to fill very small gaps too). Before putting the stone pieces into the crack, mixed the pieces with very small amount of epoxy (just enough to wet all the pieces.) After the stone pieces are dry in the crack, polish the area with a small hand held polishing tool. A good repair should be almost invisible.
For crema marfil, crash a small piece of crema marfil into size of 1/4 - 1/2 of a rice (use some very fine pieces and powder too). Mix the pieces with very small amount of epoxy, fill in the crack and polished. Again the repair should be almost invisible. A common mistake is to crash the crema marfil into powder and fill the gap with powder. After repair, the crack will still be visible (somehow the powder will loose some color and become too light). You must use some mixed size pieces (size similar to broken rice).
If it is “hair line"cracks, just fill it with clean epoxy (use razor blade to go back and forth around the cracks to work the epoxy into cracks),clean the area with razor blade as soon as the epoxy started to dry (when the epoxy is no longer liquid, feels like a rubber, but not totally dry yet - this is the time that is very easy to clean with blade.) No polishing is necessary. When the clear epoxy dries, it will look like natural crystal lines that exists in crema marfil.
Some people do mix yellow color into the epoxy to get better result. But matching the color of crema marfil will require some experimenting. Do not put in hardener (usually the less clear part in the 2 part epoxy) until you are satisfied with the color.
You can use 2 part epoxy in plastic syringes sold in Hardware stores. Use the one that dries in at least 30-45 minutes. (The one that dries in 5 minutes is not strong enough.)